[Learning] How to Configure the Network of Your Virtual Machine using VMware Workstation
Last Update:
Word Count:
Read Time:
Introduction
In the previos article, I described how to setup a virtual environment for malware analysis. However, I did not fully explain the virtual network configuration. Therefore, I decided to write this article to help anyone facing the same issue. It also serves as a personal note on setting up an analysis environment efficiently.
This article explains how virtual networks operate between virtual machines and introduces the configuration of different network adapters.
Caution
Sometimes the network may still be misconfigured after you have tried all possible options. Based on my experience, reinstalling the virtual machine (possibly using a different, newest ISO image) can sometimes be a more effective solution.

Network Configuration
Fundamental Network Knowledge
Before configuring the network of your virtual machines. You should understand the following terms:
- DHCP: A network management protocol that automatically assigns IP addresses, subnet masks, default gateways, and DNS server details to devices on a network.
- Subnet mask: A 32-bit value (for IPv4 addresses) used to divide an IP address into network and host portions, defining which devices belong to the same local network.
- Default gateway: A nework node—typically a router—that acts as an access point or “exit door” for traffic leaving a local network to reach other networks or the internet.

Network Adapter
VMware Workstation 17 provides five different network adapter modes:
- Bridged: This mode allows a virtual machine to connect directly to the physical network. The virtual machine can communicate with other devices on the same local network. It can also access the internet if the host machine is connected to router or Wi-Fi access point.
- NAT: This mode allows virtual machines to share the host computer’s IP address to access external networks, such as the internet. Virtual machines can access the internet through the host’s connection.
- Host-only: This mode creates a private, isolated network within the host computer. Virtual machines can communicate only with the host and other VMs on the same host-only network. They cannot access the external internet.
- Custom: This mode enables advanced networking configurations by allowing VMs to connect to specific virtual networks configured in the Virtual Network Editor. It is ideal for complex multi-VM lab environments where traffic isolation is required.
- LAN segment: It creates a completely isolated virtual network that connects multiple virtual machines together without allowing communication with the host or the external network.

Which Network Adapter should you use?
In depends on your purpose:
- If you want your virtual machines to access other physical devices on the local network (LAN), use Bridged mode.
- If you only need internet access, use NAT mode.
- If you are conducting malware analysis and require strict network isolation, use LAN segment mode.
Getting Started
Before configuring your network adapter, make sure your virtual machines are properly installed.
Configure Your Network Adapter
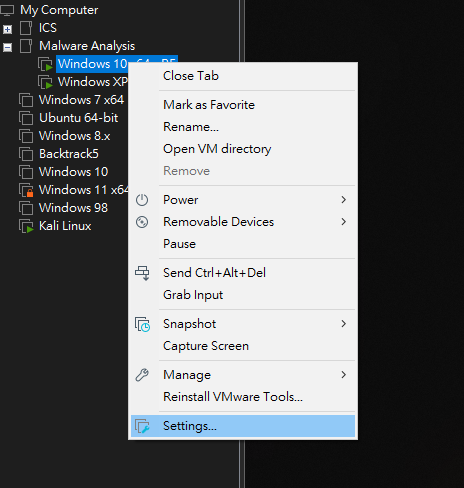
Navigate to your virtual machine, right-click it, and select Settings:
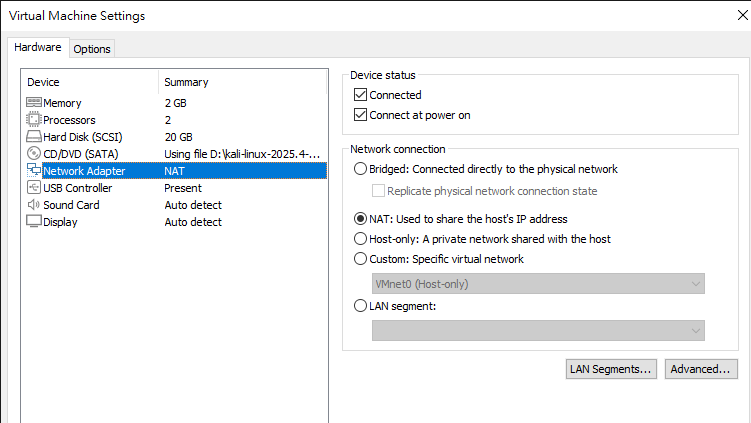
Now you can choose the desired network adapter mode:
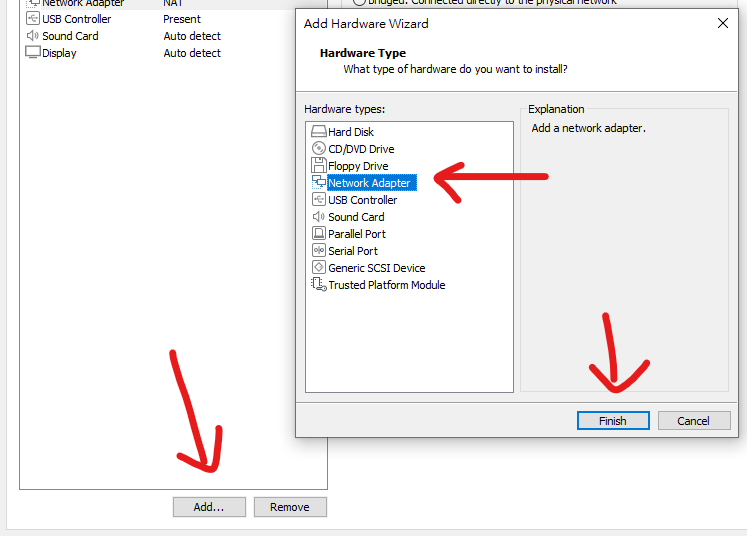
You can also add an additional network adapter for multi-network adapter:
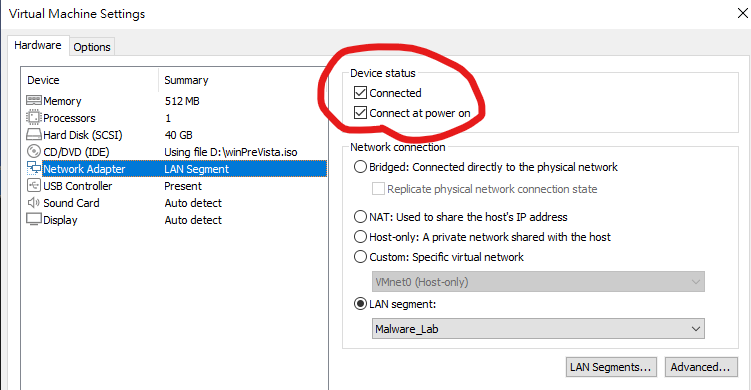
Remember to enable “Connected” and “Connect at power on”:
Configuring the adapter as Bridged, NAT, or Host-only is straightforward. Next, I will explain how to configure Custom and LAN segment modes.
Custom
The difference between Custom and the first three network connection is that Custom provides more advanced configuration options.
To configure it, navigate to the VMware Workstation menu and select:
Edit -> Virtual Network Editor

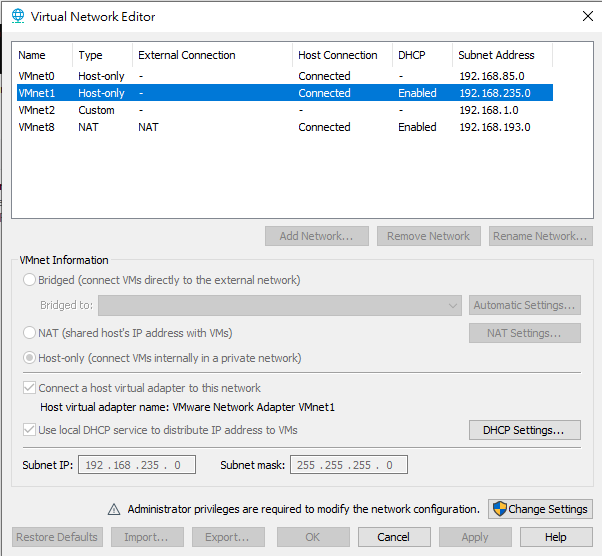
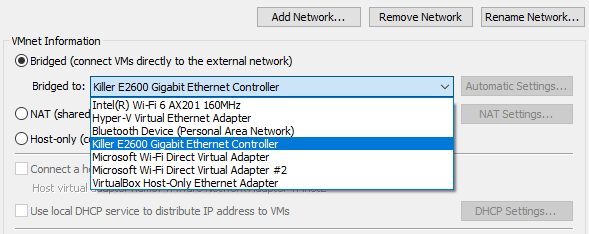
From there, you can customize the configuration as needed. For example, you can specify which physical network adapter the bridged network shoud use.
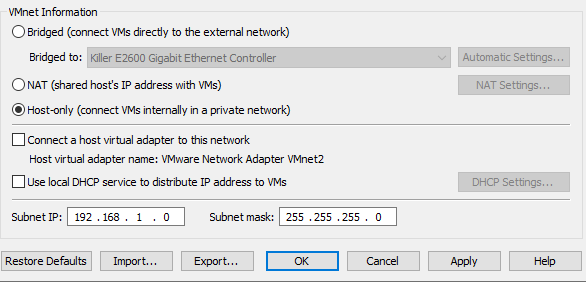
You can also manually define the subnet IP and subnet mask for your virtual network.
LAN segment
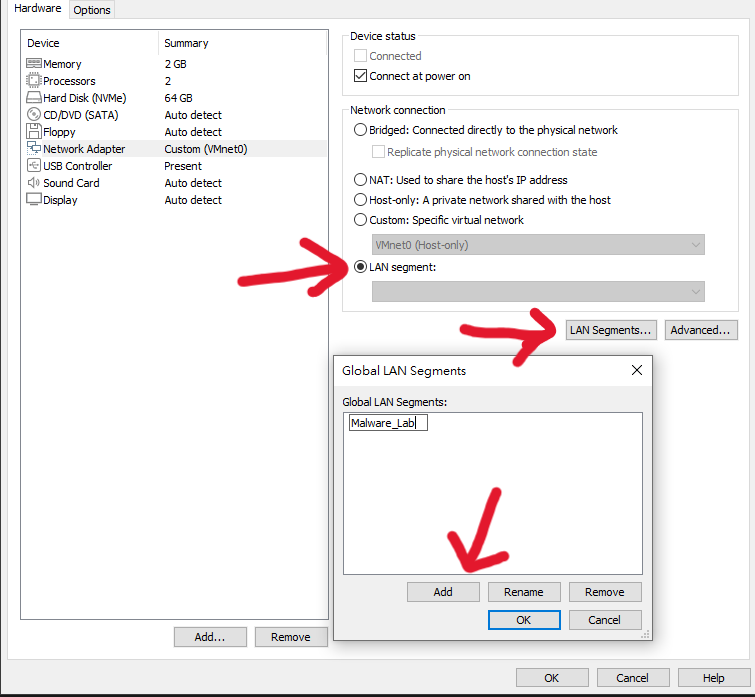
Configuring a LAN segment is slightly more complex.
First, create a new LAN segment using the Global LAN Segments wizard, then start your virtual machines.
Since this mode does not provide a DHCP service, you must manually assign IP addresses to your machines.
Windows
If your virtual machine runs Windows, execute the following command to opent the Network Connections panel:1
> ncpa.cpl
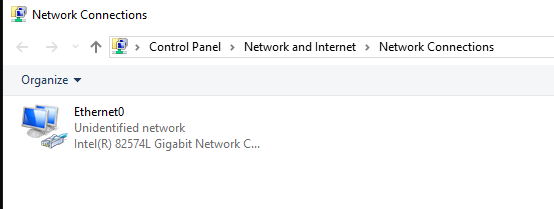
Right-click the network adapter and select “Properties”:

Select “Internet Protocol Version 4 (TCP/IPv4)” and click the “Properties”:
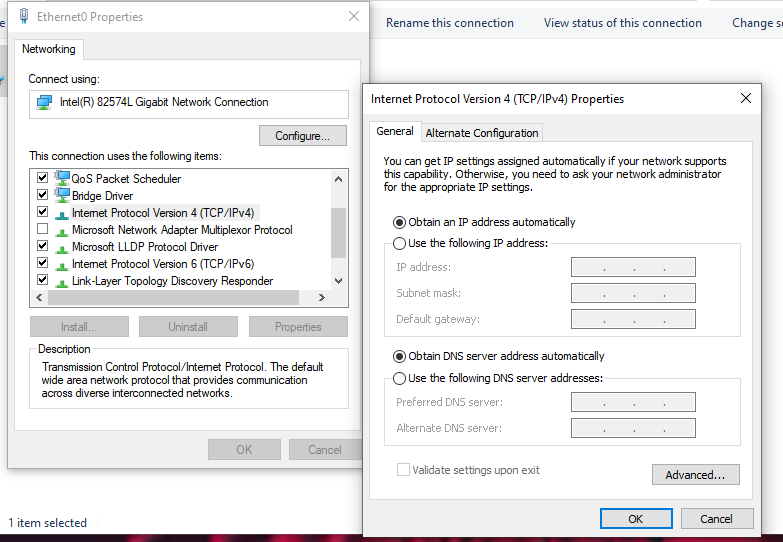
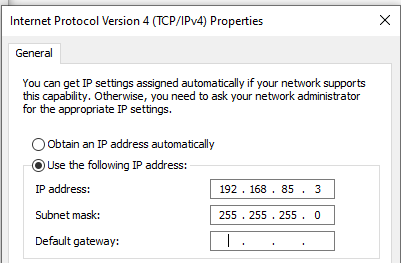
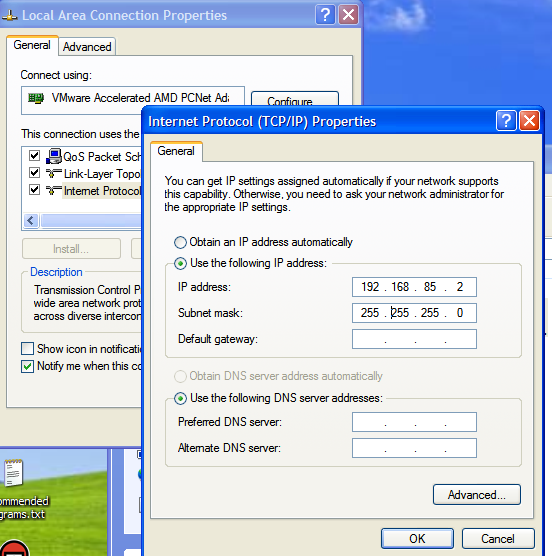
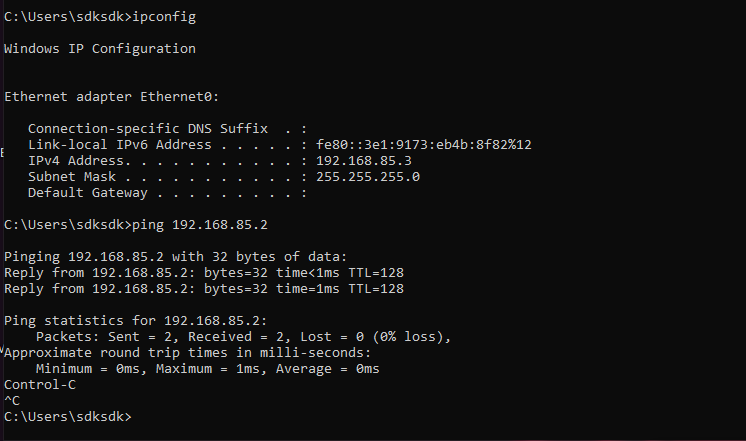
Manually configure the IPv4 address for your virtual machines:
To test connectivity, run:1
> ping 192.168.85.2
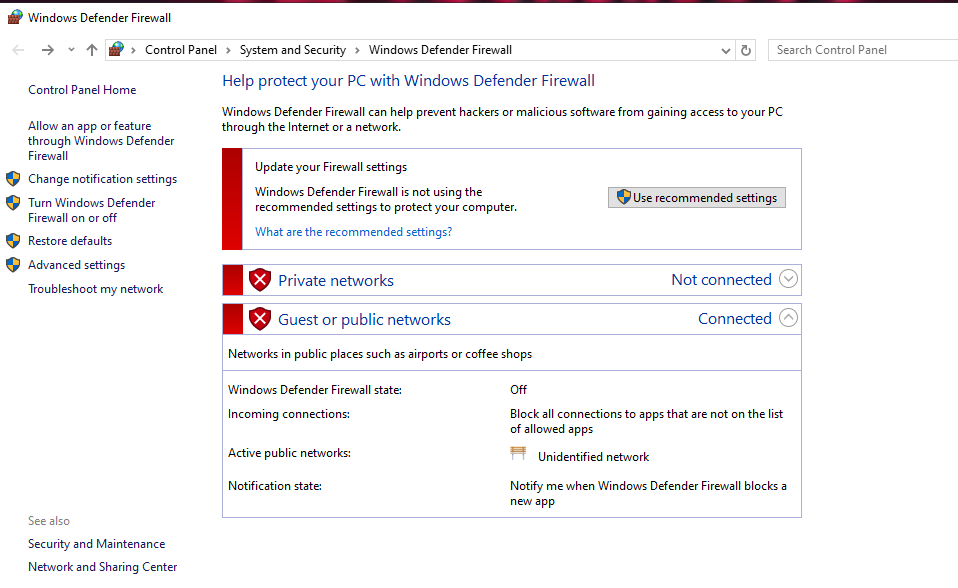
If the destination host is unreachable, the firewall may be blocking ICMP requests:
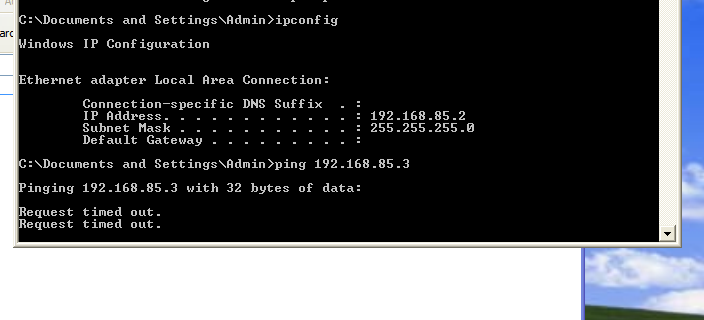
In this case, disable the Windows firewall temporarily for testing:
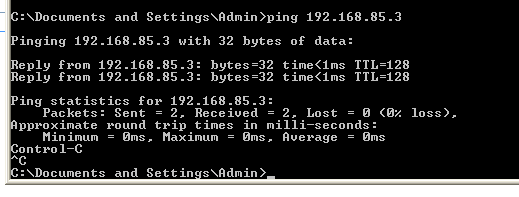
If the virtual machines still cannot communicate with each other, verify that their subnet masks match. Machines will not be able to reach each other if the subnet mask values are different. (In this case, both use 255.255.255.0)
Linux (Debian / Kali Linux)
Manually assigning an IP address on Linux is different from Windows.
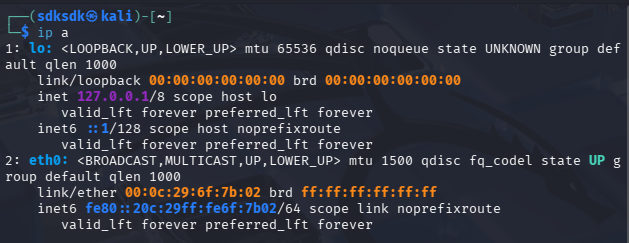
First, identify your network interface name:1
$ ip a
It should be something like ens33, ens160 or eth0:
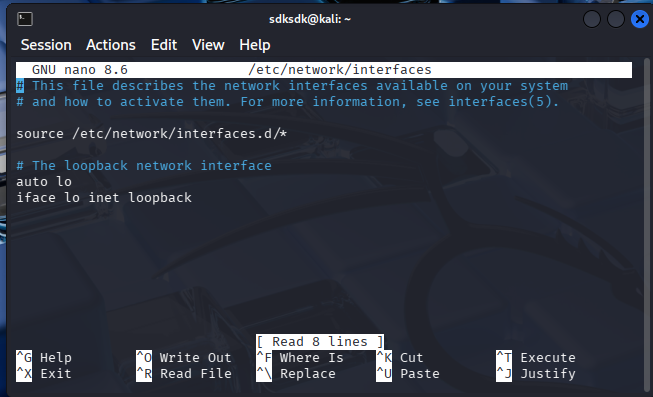
Edit interfaces file:1
$ sudo nano /etc/network/interfaces
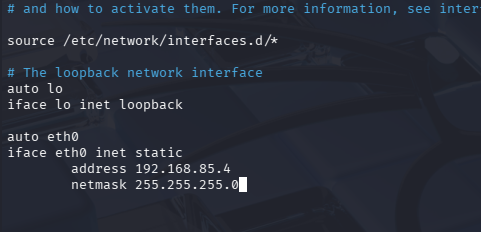
Replace or add:1
2
3
4auto eth0
iface eth0 inet static
address 192.168.100.30
netmask 255.255.255.0
Important: Replace
eth0with your actual interface
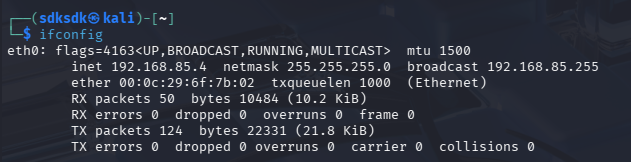
Restart networking:1
sudo systemctl restart networking
Verify:
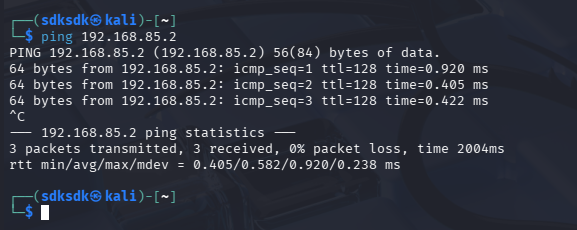
Test connectivity:
Linux (Ubuntu)
Configuring Ubuntu is almost the same, but with the different configuration file:1
sudo nano /etc/netplan/01-network-manager-all.yaml
Replace contents with:1
2
3
4
5
6
7
8network:
version: 2
renderer: NetworkManager
ethernets:
eth0:
dhcp4: no
addresses:
- 192.168.85.5/24
Important: Replace
ens33with your interface
THANKS FOR READING