[Learning] How to Setup Your Experimental Environment for Malware Analysis
Last Update:
Word Count:
Read Time:
Introduction
Recently, I realized how important it is to set up an experimental environment quickly. A properly configured environment significantly reduces the time spent installing tools and preparing virtual machines for malware execution and analysis.
Therefore, I decided to write this article to help anyone facing the same issue. It also serves as a personal note on setting up an analysis environment efficiently.
This article explains how to set up your experimental environment for malware analysis.
Getting Started
Virtual Machine
To analyze malware, you need at least one virtual machine.
For modern malware, Windows 10 x64 is a suitable choice, as it can execute both x64 and x86 PE files. It can also run executables built with .NET Framework 4.8. However, if you want to study legacy malware such as Netbus, you may need to install Windows XP or even Windows 95(click here to learn how to install VMware Tools for Windows XP and Windows 95).
If you plan to explore topics overlapping with reverse engineering—such as buffer overflows or firmware analysis——you may need additional environments.
For example:
- Windows XP (to study exploits without modern protections such as ASLR and DEP)
- Kali Linux (for generating shellcode or conducting exploit development)
- Debian or Ubuntu (for firmware extraction and analysis)
If you are interested in studying buffer overflows, you can click here to read my notes.
Snapshot
A VMware snapshot is a point-in-time image of a virtual machine that captures its exact state—including memory, disk data, and settings—at a specific moment. It acts as a quick “undo” button for testing. It allows users to revert to a previous, stable state, through they are not intended as long-term backups.
Snapshots should be treated as temporary restore points rather than backup mechanisms.
Isolation and Safety Considerations
When building a malware analysis environment, always ensure that the virtual machines are isolated from your host system and external networks.
Snapshots should be used before executing any unknown sample.
Setup
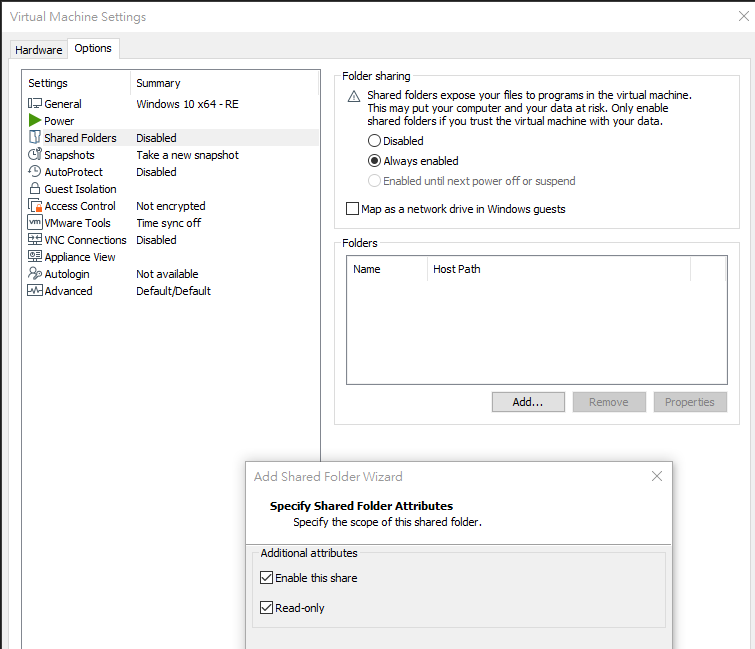
Shared Folder (If necessary)
Navigate to “Shared Folders”, select “Read-only”:
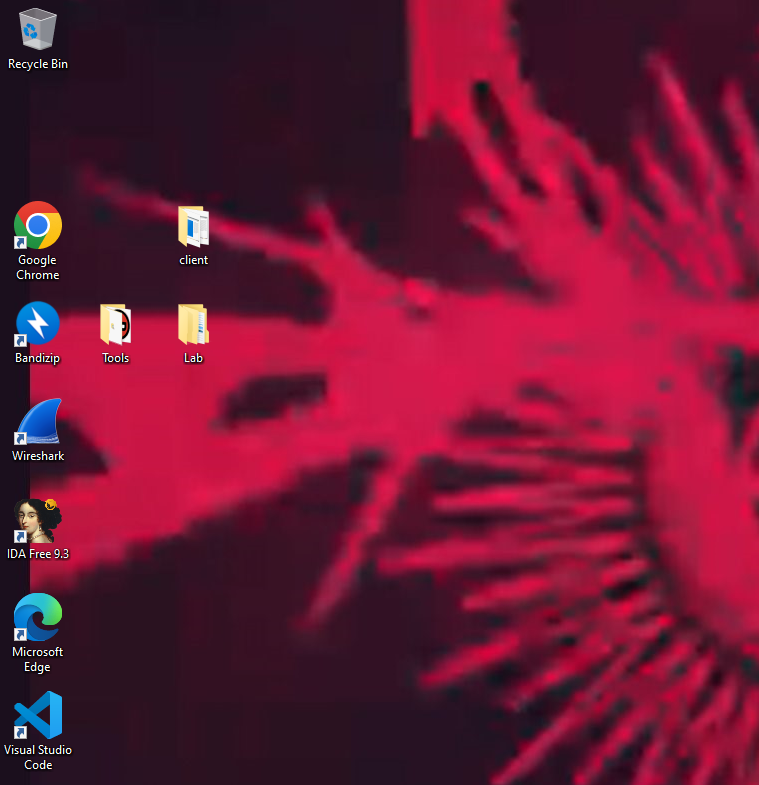
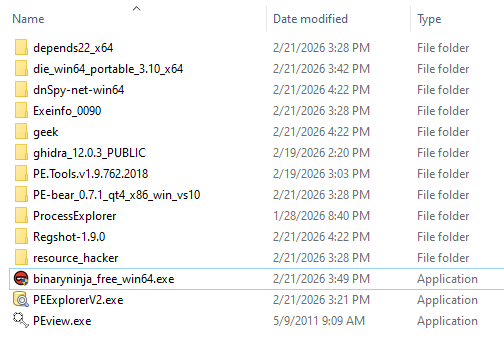
Tools
Tools are important for handling a complicated malware. You should transfer all your tools for malware analysis into the virtual machine before taking a snapshot:
Snapshot
A VMware snapshot is a point-in-time image of a virtual machine that captures its exact state—including memory, disk data, and settings—at a specific moment.
It acts as a quick “undo” button for testing. It allows users to revert to a previous stable state, though it is not intended to be used as a long-term backup solution.
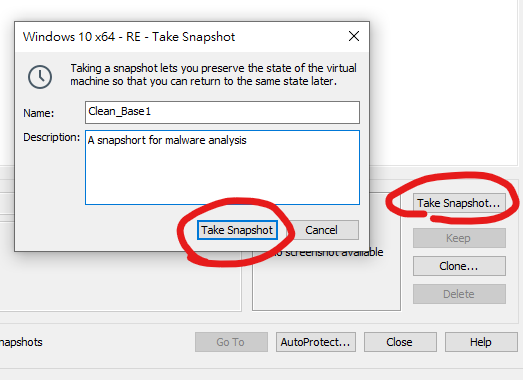
Snapshot → Snapshot Manager

Next, click “Take Snapshot”:
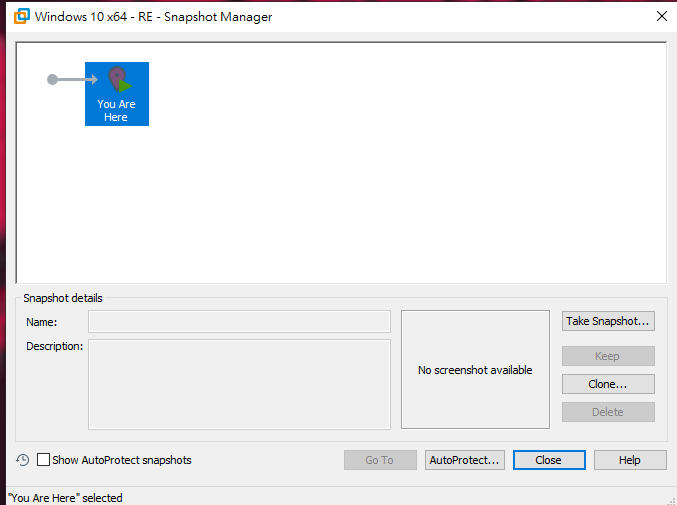
Now, you can create additional snapshots based on the clean base snapshot:

You can also create multiple snapshots derived from the original snapshot for different network configurations or installed applications. Note that you should power off your virtual machine of the current state before you go back to the previous state.
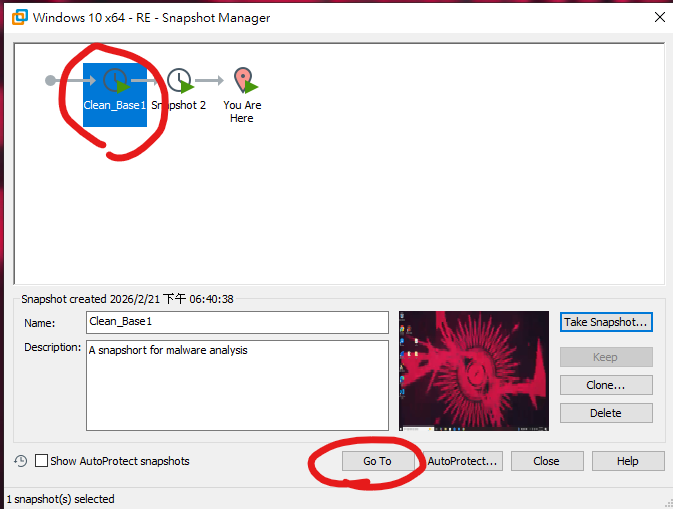
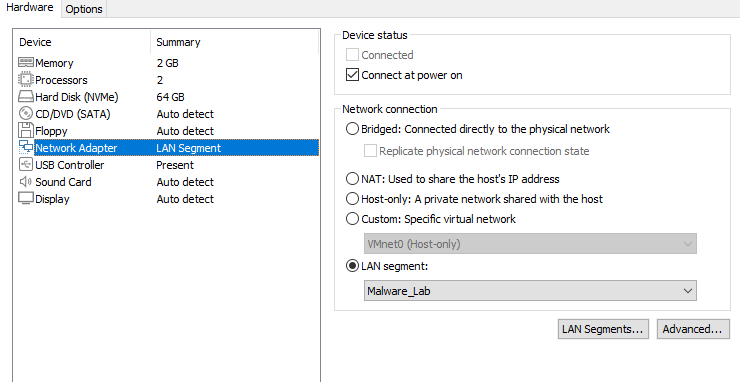
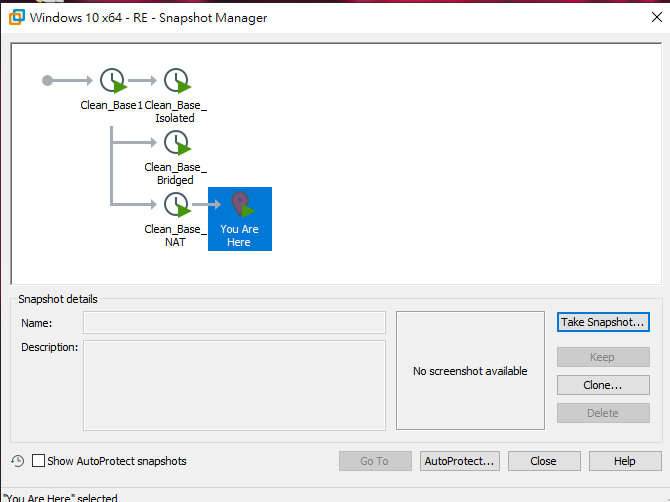
In this case, I created three snapshots with different network configurations. The Clean_Base_Isolated snapshot uses a dedicated virtual network and is reserved specifically for malware analysis.
Therefore, VMware Tools are recommanded for transferring malware samples or analysis tools into the virtual machine. However, since some malware may manipulate the clipboard, you can alternatively use a shared folder configured in read-only mode during analysis.
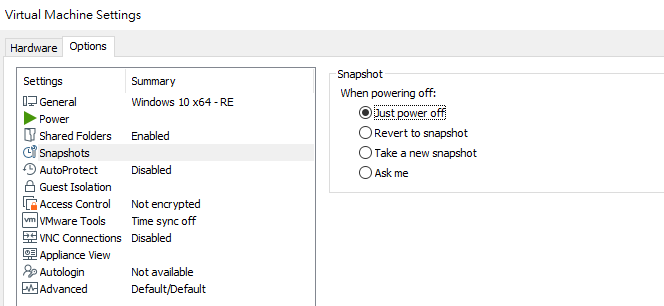
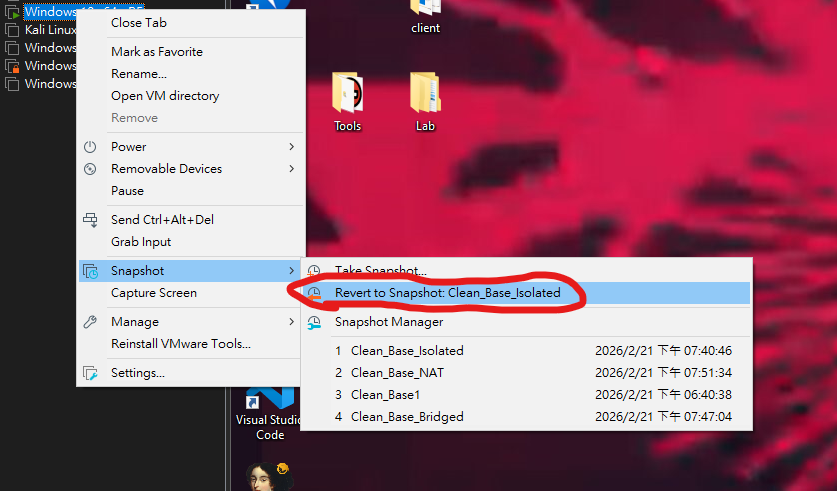
Revert to the Last Snapshot
After analyzing malware, the virtual machine system may become unstable or compromised.
In such cases, you can easily revert to the last clean snapshot and start your next analysis session:
THANKS FOR READING